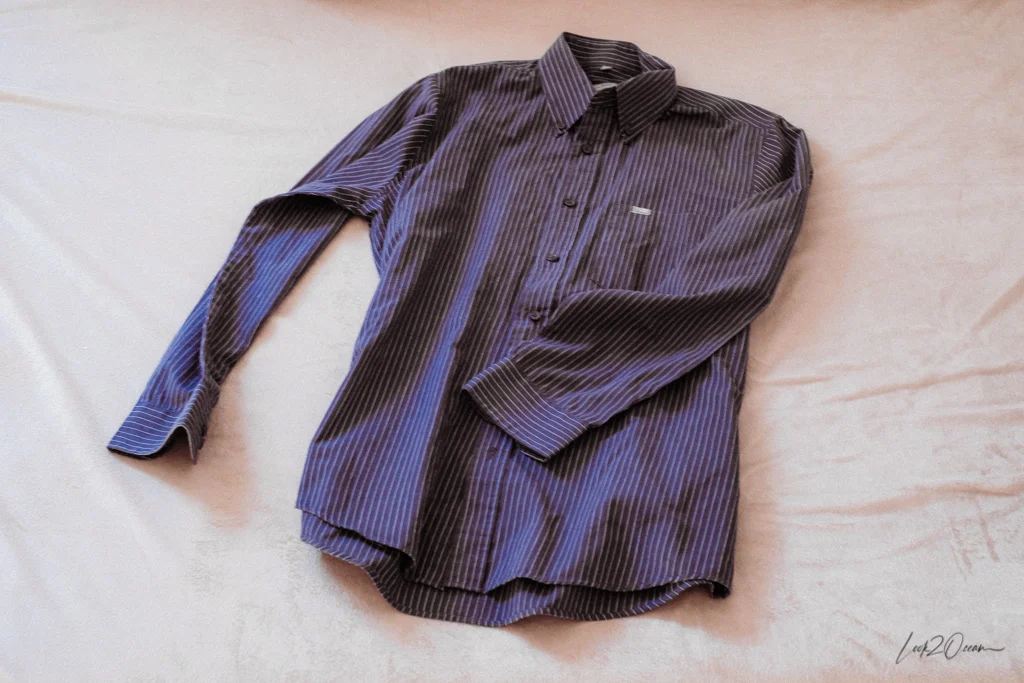
DIY Tutorial – How To Make A Front Tie Top From A Mens Shirt
As I promise you in my last two articles, finally the font tie top DIY tutorial is ready!
If you would like to know how to transform a mens shirt into a fashionable womans front tie top then pay attention at the following steps, which I prepared with the suitable photos to explain you exactly how it works.
As I said a while ago, right now, it’s all about the statement shirt.
Which is perfect for me and you, because a simple men’s shirt is the easiest thing to get your hands on – whether it be your Dad’s, brother’s, boyfriend’s, or from a local thrift shop. All you need is a little imagination a sharp pair go scissors and a sewing machine.
So go on, get creative!
What do you need for sewing a front tie top?
- A mens shirt
- Scissors
- Unpicker
- Tailor’s chalk
- Ruler
- Sewing machine and thread
Here are the steps of my DIY Tutorial:
1. Cut exactly at the seam line the sleeves from the shirt.
2. Once the sleeves are separated from the shirt straighten the sleeve line at the sleeve cap. Take a ruler and mark a straight line with the tailor’s chalk and cut at the chalk line the curvy part, that you have a straight edge.
3. Cover the edges of the sleeves with a satin band or just clean it with the zick-zack stitch or the sewing machine or even withe a slanting hand stitch. I used a pink Satin band to add a little embellishment
4. Decide how high or low you want to place the sleeves. I put mine around the height of my waist but make sure to put them in the part of your torso you want to cinch in. I used my mirror to check it out.
5. Pin the sleeves in place at the side seams.
6. Sew the sleeve down on the torso. If you haven’t got a sewing machine you can also do this part easily by hand using needle and thread. Important make sure that you sew the right sides together, that you can’t see the edges if you tie the sleeves in the front.
Voila…!!! You see is not a hard challenge!
After you gonna try your first DIY-font tie top you gonna get into it and for sure you want to make more…
If you want to try more, click HERE and you will find another DIY tutorial of how to transform a mens shirt into a cute summer off shoulder dress.
Have fun while your crafting-time!
Loads of love
Katy
Pic of the DIY tutorial and styling by Look2ocean
Pic sof the finished and worn front tie shirt by Daniell Bohnhof Photography


